Diary Overview
From Standout Property Manager Wiki Help
Office 365 Integration
If you have logged into Office 365 (by clicking the login button on your Dashboard) you will see "Appointments will be also created in your Office 365 calendar" below the date. Any appointment created by yourself will be created in your Outlook Calendar, if you've created an appointment for a colleague, and they use Office 365, they will have the appointment created automatically, it will also be created in your calendar, in the notes, it will tell you that you are not required.
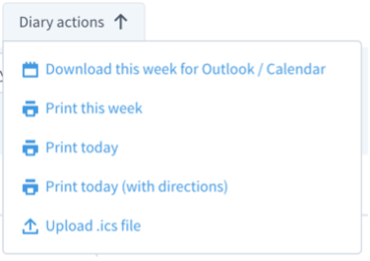
Diary actions
Download this week for Outlook / Calendar download a file to import into another Calender
Print this week print weekly diary appointments
Print today print todays appointments
Print today (with directions) print todays appointments with directions to appointments and/or viewings
Upload .ics file import appointments from a different Calendar
Diary viewing options
Day/Week viewing options
<- Today -> move back and forward in diary view, reset view to today
(7) Next 7 days jump 7 days from the selected day
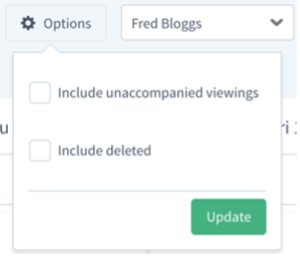
Options
Include unaccompanied viewings show those viewings where no staff are accompanying
Include deleted show deleted appointments/entries
Username dropdown select yourself, other or teams to view their appointments
+ New create a new appointment
Padlock Mark as Private – only you and the recipient will only be able to see the details
(?) Mark as Tentative
Edit / View open the highlighted appointment
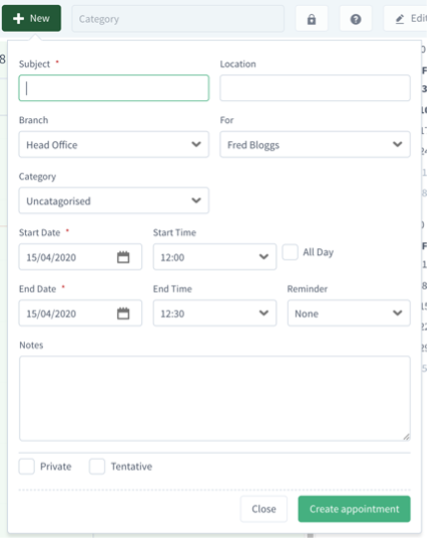
Add an appointment
Subject name of the appointment
Location where is the location of the appointment
Branch which branch does this appointment belong to
For for which staff member
Category category for the appointment (configured in Administration/Diary)
Start Date on which date (or start date)
Start Time what time is the appointment
All Day if it is an all day event
End Date on which date (or end date)
End Time how long is the appointment for (configured in Administration/Diary)
Recurring to create recurring events, will be available when the category is set to Uncategorised or Personal
Reminder do you want to be reminded about this appointment
Notes additional notes regarding the appointment - When creating a Contact Appointment, please read Note 1 below
Private is this appointment private
Tentative is this appointment tentative
Close close the appointment without saving
Create appointment save the appointment into the Calendar
If you have logged into Office 365, any appointment you create will also be created in your calendar. Please note, only edit appointments in Standout, edits will be reflected in your calendar. If you create an appointment for another member of staff, it will show in your calendar, in the notes, it will tell you that you are not required.
Notes
1) When creating a Contact Appointment (by editing a contact, choose More Actions / Create Appointment), Notes are used to inform the contact about the appointment. We would advise if this was to be used to discuss mortgage or rental information, that you enter a detailed description making the contact fully aware of why they've an appointment with your agency.
Creating a Valuation Appointment
Open a property that is at Pre Valuation to create the appointment, once open, click “More actions then Book Valuation. You will automatically be transferred to the Diary, double click on the day/time that you have booked
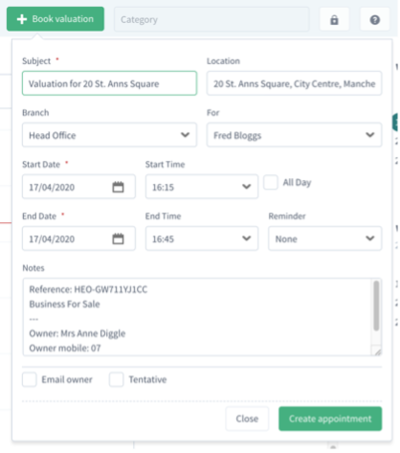
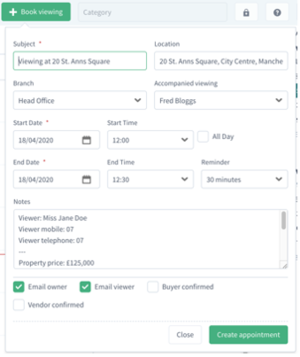
Standout will populate the appointment, if you require no changes, click Create appointment. You can tick the “Email owner” and the owner will be notified by email about the appointment. Alternatively, you can select a Valuation Letter and either send that in the post or email.
Default letters are
Potential Listing Sheet Valuation Pre Marketing Sheet
Rental Take On/Valuation Checklist Before start of rental checklist
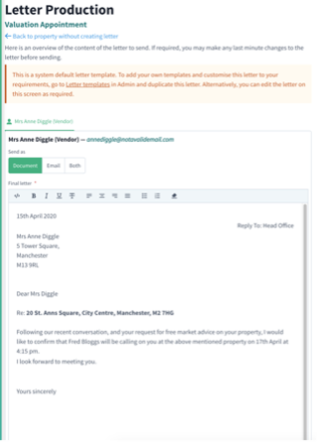
Valuation Appointment Book Valuation Letter
Any of the above letters may be chosen and either downloaded to print from Word or emailed.
If you have SMS credits, 2 hours before an appointment, if configured, reminders are sent automatically.
Book a viewing
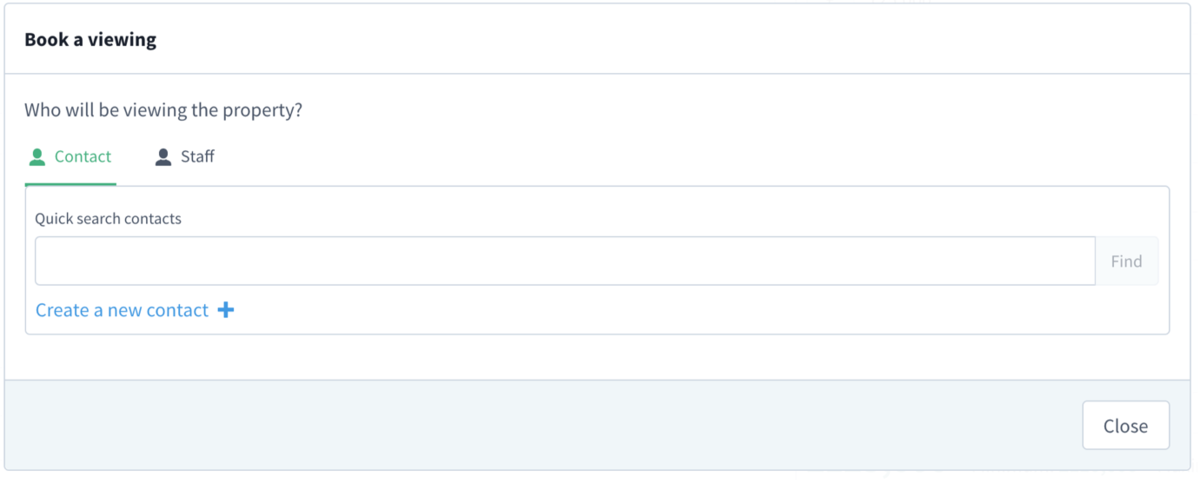
Open a property that is Available to create the appointment, once open, click “More actions then Book viewing
If you have not entered the potential buyer, at this point you can create a new contact (opens in a new browser tab to allow you to enter their details)
Once you start to enter their name, they will appear where you can then click on them, then click Book viewing
Again, double click on the date/time for the appointment
Standout will populate the appointment, there will place ticks in both Email owner and Email viewer – you can untick if you do not wish to email either party. If either of the contacts have already confirmed this appointment, you can tick those. If you're logged into Office 365, any appointments created, will also be created in your Outlook Calendar.
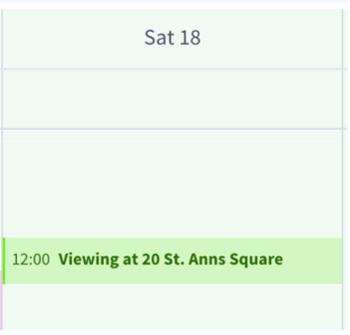
Click Create appointment. In Property and then Viewings / offers tab the appointment will show
In the diary, the appointment will show as
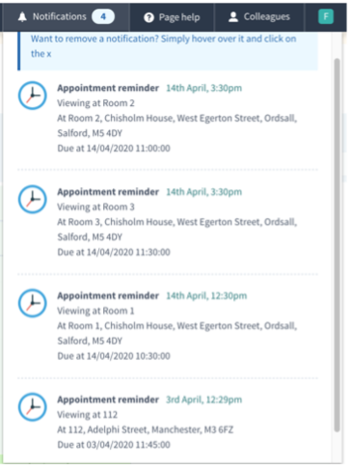
Notifications
Standout will add appointments to remind you in the Notifications at the top of the screen
You can just hover over the past notifications to remove them, once completed.

