Rental HMO
From Standout Property Manager Wiki Help
Creating a HMO property
You create a property in exactly the same way as described in the Rental Property Overview, once you’ve a property that you have created, valued it, confirmed the valuation, you can then edit the property to make it a HMO.
Rental options
Open your property and then click on the Rental tab
Click on Yes to share the property. A new tab will appear called “Rooms”.
Prior to leaving this tab, configure all the options
Let type Not Specified / Long Term / Short Term / Student / Commercial
Furnished Unknown / Unfurnished / Part furnished / Fully furnished
Minimum term minimum term in months
Contract length length of contract in months
Pets allowed Yes/No
Smokers considered Yes/No
Benefits considered Yes/No
Bills included
All bills Yes / No for All options
Water bill Yes/No
Gas bill Yes/No
Electricity bill Yes/No
Oil bill Yes/No
Council tax Yes/No
TV license Yes/No
Satellite/Cable TV Yes/No
Internet Yes/No
Rent includes description of what the rent includes up to 1000 characters
Save the property.
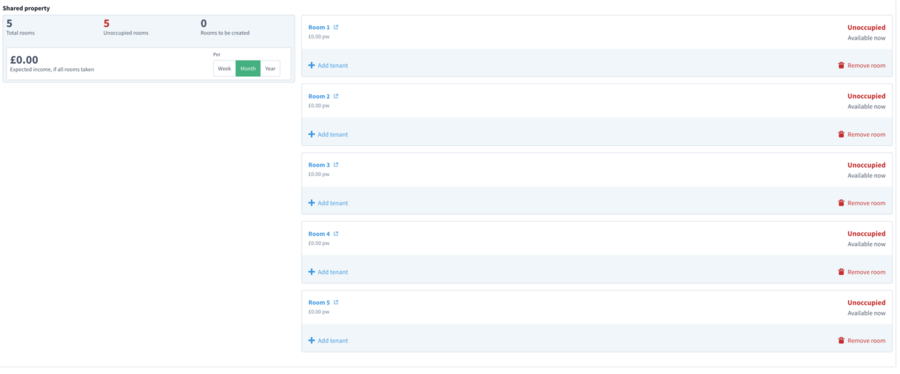
Rooms
The property created for this document had 5 bedrooms, 5 bathrooms and 2 receptions rooms. The system is expecting 5 rooms to be created.
Per How much will be generated (Week / Month / Year)
Add room
Notice that once you have added 5 rooms, you cannot add an additional room.
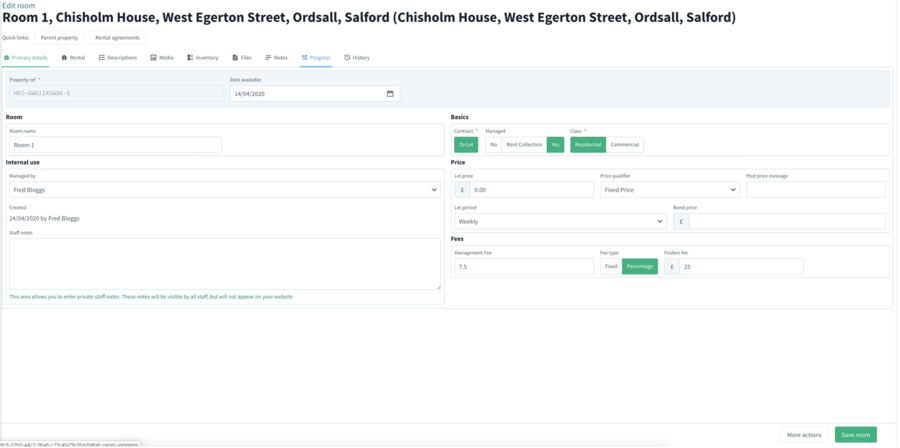
Edit room
To edit a room, click Room 1 – this will open a new tab allowing to you edit and create the room
Contract To Let
Managed No / Rent Collection / Yes – defaults to the setting you’ve chosen on the
primary property details
Class Residential / Commercial
Price
Let price Rental price for that room
Price qualifier Fixed price (see Property Overview for all options)
Post price message a text message (such as per week / per month etc)
Let period Weekly / Monthly / Yearly / (see Property Overview for all options)
Bond price price for the Bond a tenant pays
Fees
Management fee either a % or fixed price for management fees
Fee type % or fixed
Finders fee takes value from Primary property but can differ room by room
Before moving onto other tabs, please ensure you click “Save room”. Don’t forget to complete Rental / Description / Media / Inventory (for that room).
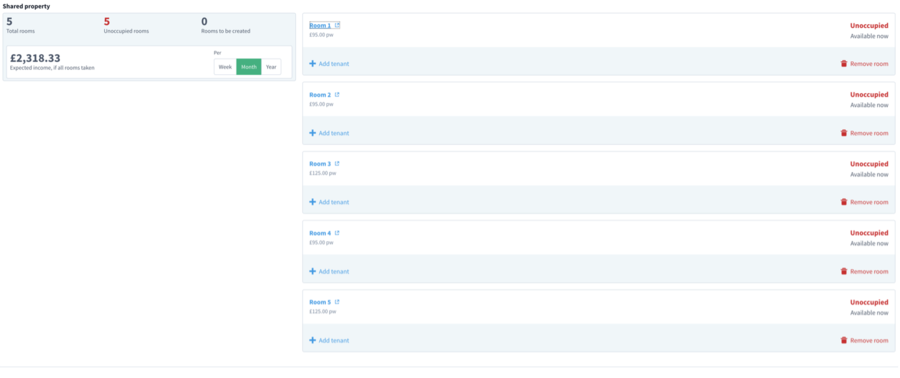
Once you have completed all the room edits, click Save room – CLOSE the tab and refresh your browser, you will then see
Standout will show how much the property can generate on a Week / Month / Year.
Our example is 3 x £95 and 2 x £125 per week rental.
We always recommend you Save Property when finishing edits.
Emailing all tenants
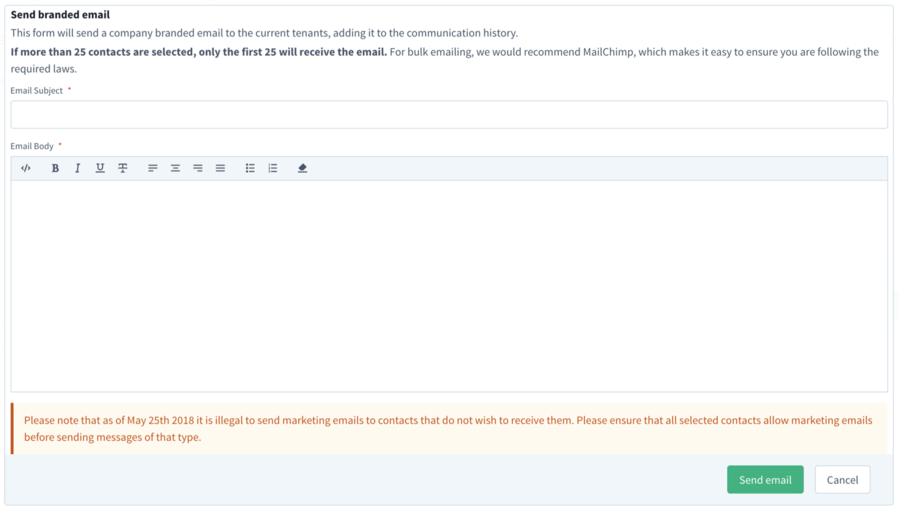
When editing the property, you can now email all the tenants with a current agreement. Simply click More actions and then Email all tenants button
Simply add a subject and email body, click Send email and all tenants that have supplied an email address will receive the email. This could be used when tenants need to be informed of communal area repairs or disruptions.
Dashboard
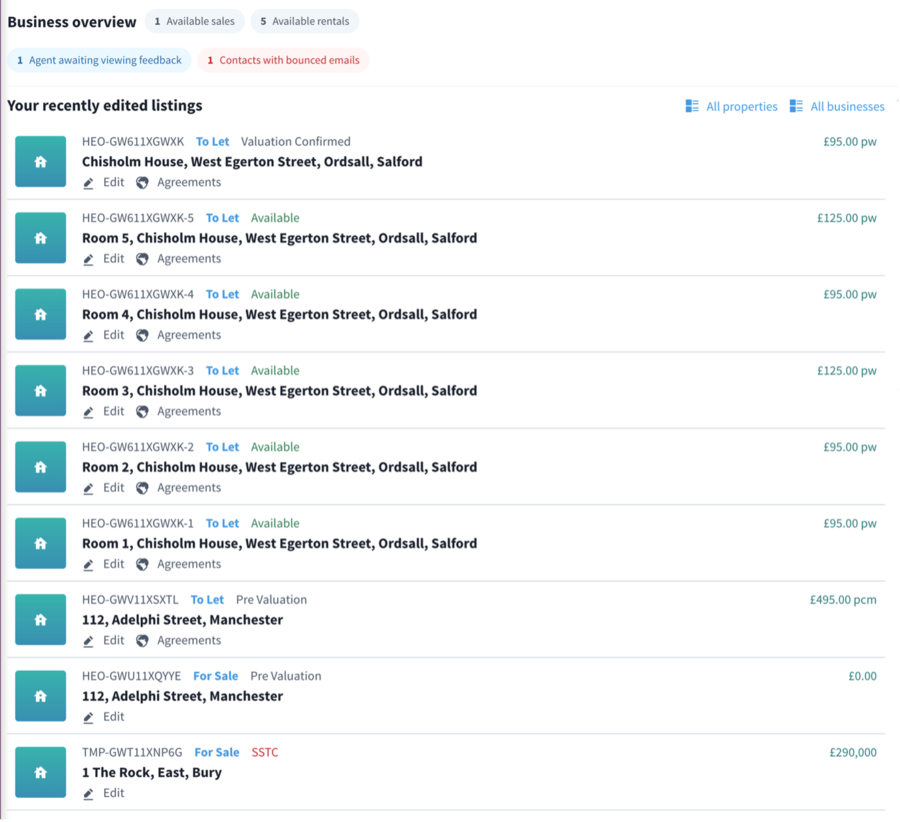
In Dashboard, you will now see all 5 rooms in your recently edited listings plus the master property
These rooms are now uploaded to your website, portals ready for you to then create a new tenancy agreement for a room.
Creating a tenancy agreement
Once you have an applicant/tenant interesting in the room, enter all their details into Standout, ensure that you book a viewing for the tenant by opening the room then click More actions / Book viewing.
Make offer
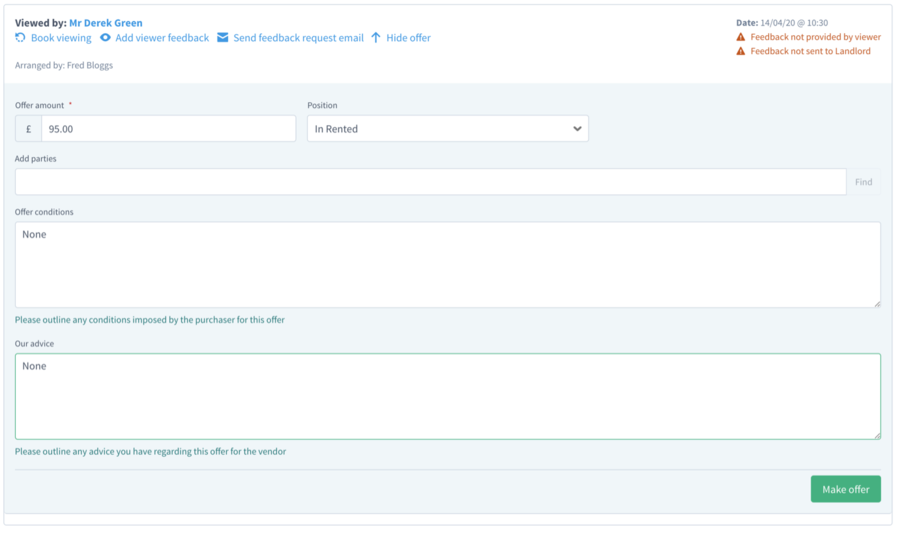
Once they’ve made an offer (or wish to proceed) click on the Room then Viewings / offers and choose “Make offer”
Enter the amount you’ve agreed, what position they’re in, any additional parties, offer conditions and then click Make offer. You will be then offered to create the appropriate letter and either print/download or email to the applicant/landlord.
Accepting an offer
To accept an offer, open the room and then go back to Viewings / offers.
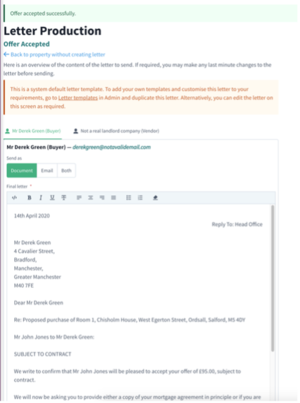
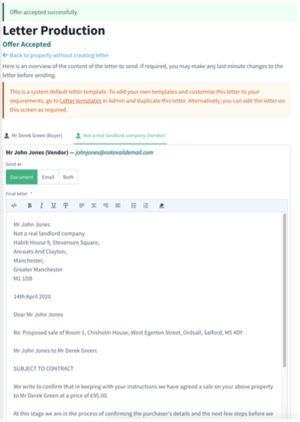
Click on Accept to proceed, you’ll be asked to confirm your action with an Ok / Cancel prompt. Click Ok and then create the Letter of Offer Accepted to both Applicant/Landlord
When you then click the Go / Back to property you will be returned to the room, notice that the status now reads “Application Made”.
Creating the agreement
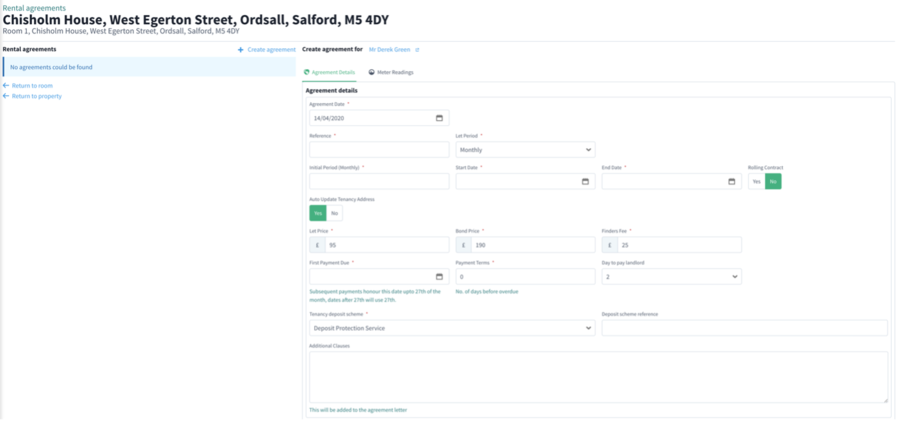
Once you’ve completed all your security checks and confirmed everything with all parties, you can then create the Tenancy agreement. Click More actions then Tenancy agreements to then create a new agreement for this room
You will be required to create the agreement, this is identical as creating for a full property (see Rental Overview).
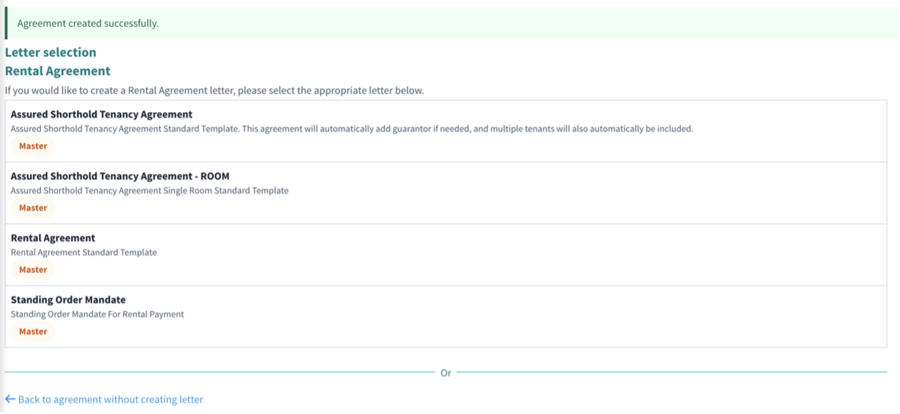
Once completed, click the Create agreement button and you can then select the letters to produce
Once you’ve created all the required letters, click the Back to agreement button.
Financials
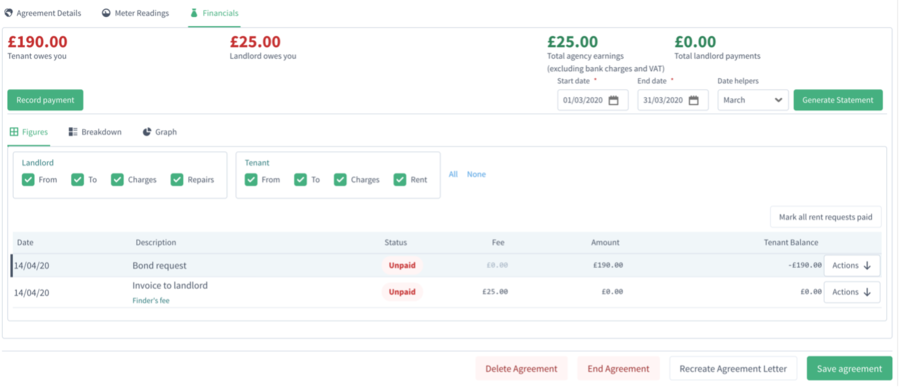
You will then see a new tab called “Financials” which will show
Showing the figures that are now required to be paid to and from tenant/landlord.
Viewing Tenancy Agreements / Financials – specific room
When you open a room, you will notice a difference at the top of the form where agreements are shown
Room tenants are not show on this screen, click Rental agreements
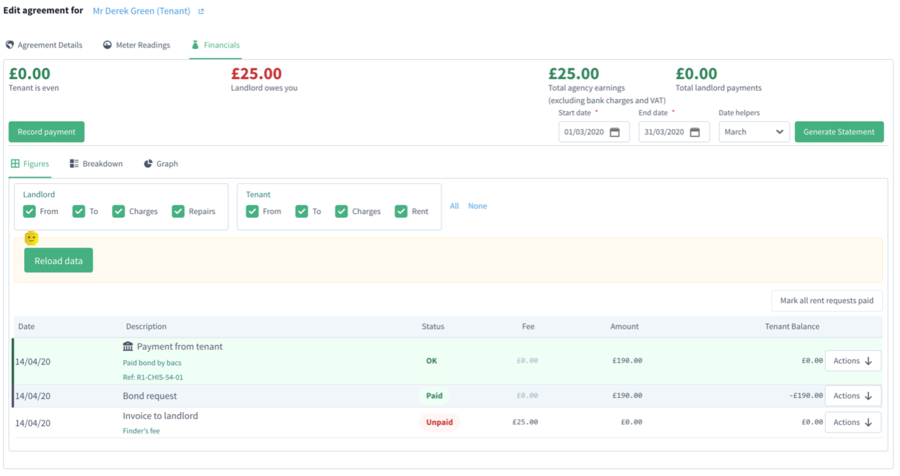
Click View to view the agreement and Financials
Main Property – Tenancy agreements
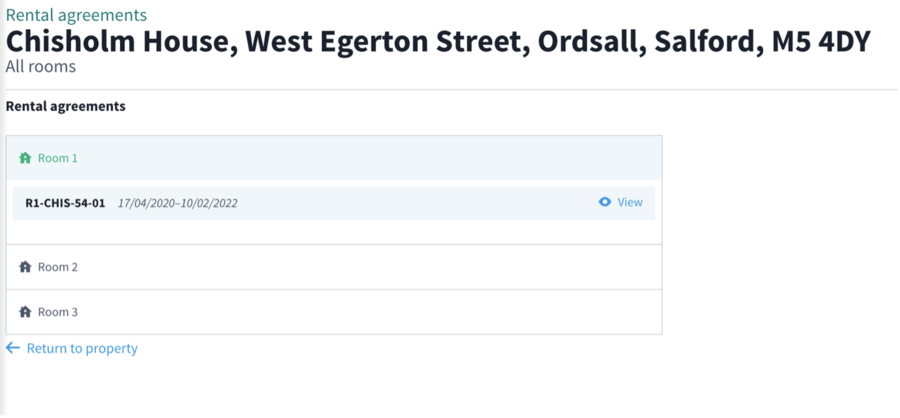
Click on Rental agreements (all rooms) for the following
Click on the room you wish to view, then click the View link to open that tenancy agreement so that you can either amend it, add payments, create statements or just simply view its current state


